Hi Boox Popular Magazine 2025

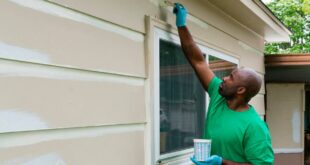
Finally getting to paint that home can be your grandest achievement. I mean, who doesn’t love the look and feel of a freshly painted home? Imagine that house: all shiny in the vibrant blue you’ve been craving for a while. Dream-like, right?
But let’s be real – the actual messy work of prepping for a paint job isn’t quite as neat and pretty as the finished reveal. Rushing in sans precaution can lead to cracks, flakes, and tragic touch-up fails down the road. This article will try to stop that.
Stay tuned for some tip-top tips to prepare you for that long overdue paint job.
Before You Paint
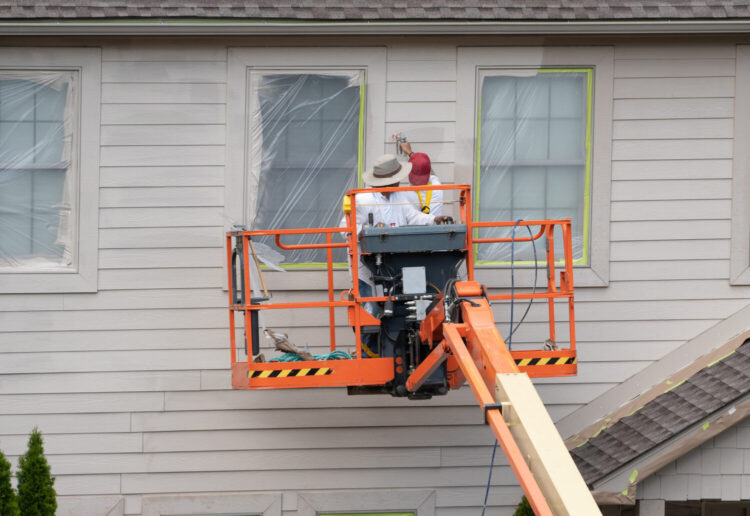
Now, some folks love the DIY life. Sure, it’s a badge of honor to paint your own masterpiece, but be warned: you’ll wrestle with stubborn grime and maybe even battle some vertigo scaling those heights.
There’s no shame in calling in pros like those at Prairie Exteriors and Painting LLC or your local heroes around town. They bring expertise, swiftness, and a guaranteed flawless finish.
But if you’re still itching to get your hands dirty and conquer your castle wall, I’m here for you! This guide will equip you with the knowledge and confidence to achieve a stunning, long-lasting result.
1. Timing Is Everything
Before you grab your brush and go all Jackson Pollock on your house, let’s talk timing. Mother Nature can be temperamental. High heat, rain, and humidity are guaranteed to wrinkle your paint job faster than you can say “blister city.”
So, stick to spring and fall when the weather’s calm and humidity’s on vacation. And for daily painting warfare, wait until morning or sunset when the sun’s not trying to roast your masterpiece.
2. Gather Your Tools
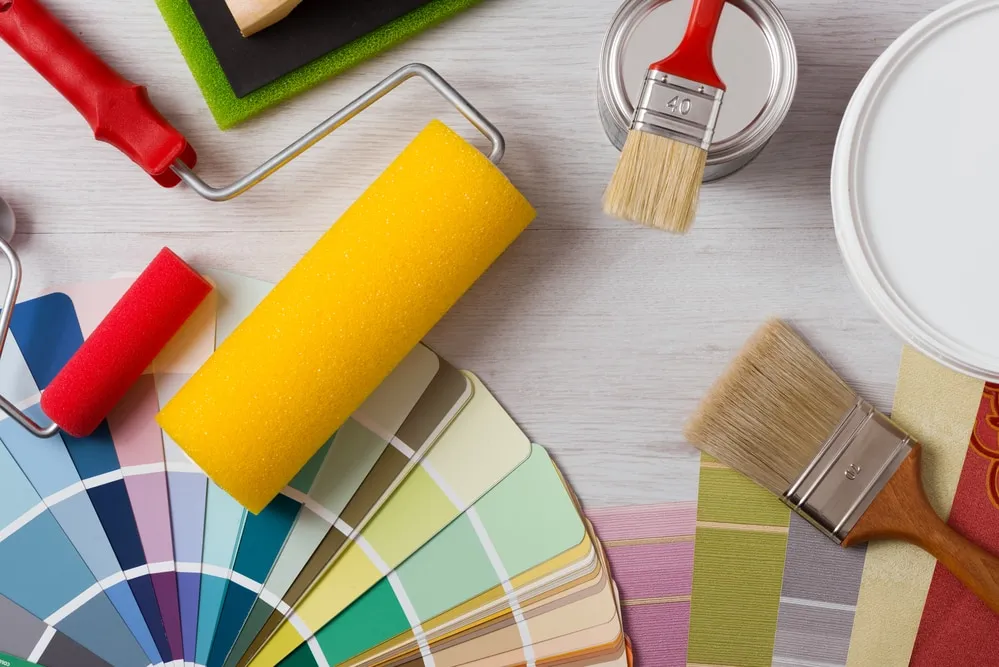
Here are your allies in painting:
- Drop cloths and plastic sheeting ─ Spread them generously over your landscaping, walkways, and driveway to shield them from any paint splatters during your artistic endeavor.
- Ladders and scaffolding ─ Choose the right ones for your comfort and safety. Get this right and you can paint every inch without taking unnecessary risks.
- A paint scraper and sandpaper ─ Use the scraper to gently remove any loose or peeling paint, then wield the sandpaper to leave behind a surface fit for a masterpiece.
- Caulk ─ This will help you plug any gaps and cracks around windows, doors, and trim to ensure your paint job stays vibrant and protected.
- Painter’s tape ─ This tool meticulously masks off any areas you don’t want to paint, like windowpanes and doorknobs.
- Primer ─ Apply it to bare wood, stained areas, and surfaces that have seen their fair share of wear and tear. This creates a smooth, even base for your paint to adhere to, ensuring a vibrant and long-lasting finish.
- Exterior paint ─ Choose a high-quality paint specifically tailored to your house’s material, be it siding, stucco, or brick. Remember, a well-chosen paint is like the perfect outfit for your home, making it stand out and shine.
Remember, the right tools make all the difference in achieving a flawless finish.
3. Clean The House
Grab your hose and some gentle, sudsy water (think bubble bath, not hurricane!) and blast away all the dirt, grime, and even that mildew that’s been hanging around.
Pay extra attention to those eaves and soffits where dust bunnies thrive. Remember, a sparkling clean canvas is the secret sauce to a paint job that’ll make passersby jealous.
4. Inspect And Repair
Give your house a good once-over. Look for chipped siding, loose boards that might be secret trapdoors, or even cracks in the stucco that could be moisture infiltration.
Don’t hesitate to repair these vulnerabilities. If any wood looks like it’s seen better days, replace it with strong, fresh stuff. We want a fortress, not a cardboard cutout, for our paint job.
5. Scrape And Sand
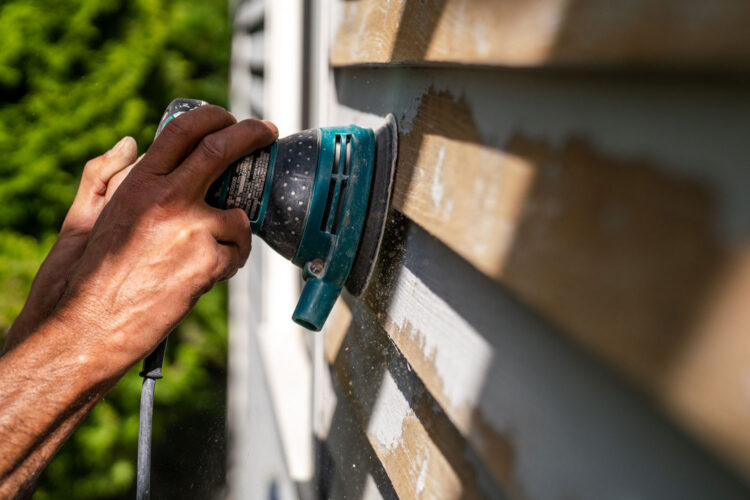
Smooth out any rough surfaces! Your greatest helper, in this case, is the paint scraper. Don’t forget to tackle any rough edges or bumps with sandpaper. This can help you create a smooth canvas for your masterpiece.
If you go the DIY route, remember to wear a mask and safety goggles – nobody wants to inhale dust particles or get paint chips in their eyes
6. Caulk It Up
Caulk helps to defend your home against water infiltration. Fill any gaps and cracks around windows, doors, and trim with this tool. This not only prevents moisture from sneaking in and causing damage but also creates a neat and finished look for your paint job.
7. Prime Time
Before you get to painting, some surfaces will need a primer. Apply a coat especially where there’s bare wood, stained areas, and any surfaces that have seen their fair share of wear and tear.
This can create a smooth, even base for your paint to adhere to, ensuring a vibrant and long-lasting finish. Remember, everything looks better with a good foundation!
8. Masking
Take out your painter’s tape and meticulously mask off any areas you don’t want to paint, like windowpanes, doorknobs, and light fixtures. This will help you create clean lines and sharp edges around these elements.
9. Paint The Town Red (Or Any Color You Like)

Grab your paintbrush and unleash your inner artist. Start with the trim and then move on to the larger areas of the house. Apply thin, even coats of paint, allowing each layer to dry completely before adding the next.
Don’t forget to “cut in” around windows, doors, and other details. Adding those final touches can elevate your painting from good to spectacular!
Bonus tip ─ Once the paint dries, carefully remove your masking tape. Clean up any drips or splatters and ensure your masterpiece is flawless from every angle.
In Closing
Well, there you have it — all my best-kept secrets to flawlessly prep your home for exterior paint. Hopefully, you’re feeling fired up to grab those brushes rather than intimidated by the process.
Just remember: any extra elbow grease spent on the front end resolving cracks, priming evenly, minding weather, etc, will pay off hugely on the back end. Can’t cut corners with major renovations, folks!