Hi Boox Popular Magazine 2025
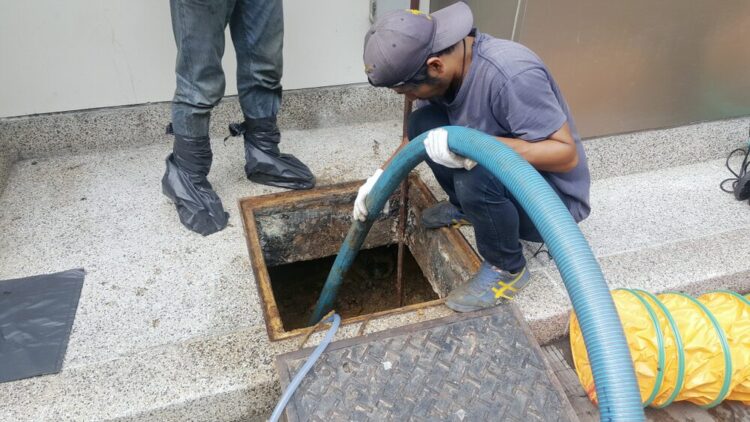
Cleaning a grease trap is a crucial yet often overlooked task in maintaining a kitchen’s functionality and hygiene. The process can be daunting, but with the right techniques, it’s a breeze. Here’s a detailed guide on how to tackle grease trap cleaning efficiently.
Pre-Cleaning Preparations
Before diving into the cleaning process, it’s essential to prepare to ensure a smooth operation.
Safety First
Ensure you have the necessary protective gear such as gloves and goggles. The grime and grease can be hazardous, and it’s vital to protect oneself.
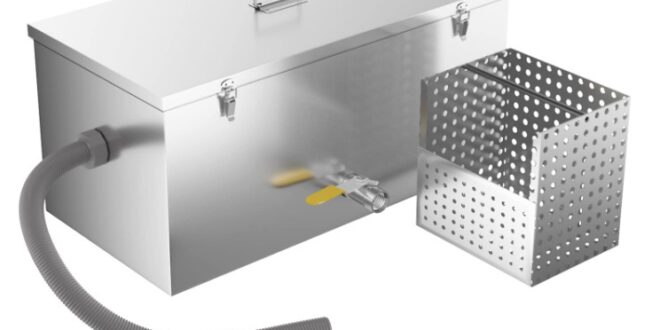
Equipment Ready
Have all the necessary equipment ready – a pry bar to open the trap, a scraper for removing grease, and a steel pot scrubber for thorough cleaning.
Cool Off
Let any hot water in the grease trap cool down before starting. This makes the grease solidify and eases the cleaning process.
Cleaning Process
The cleaning process entails meticulous steps to ensure a grease-free trap, making grease trap cleaning a vital routine. Initially, detaching the lid carefully to prevent gasket damage is crucial. This is followed by scraping off grease, scrubbing with a steel pot scrubber, and rinsing thoroughly to eliminate residue, ensuring a clean, functional grease trap.
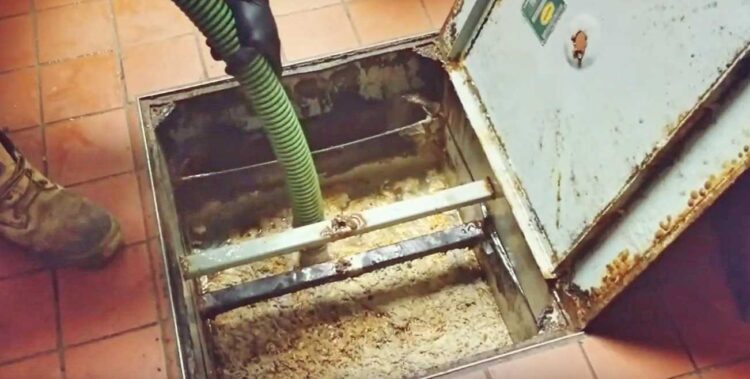
Detach and Inspect
Gently detach the lid using a pry bar, being cautious not to damage the gaskets underneath. Once open, inspect the trap’s parts for any damages or excessive grease build-up.
Scrape and Scrub
Utilize a scraper to remove the grease layer, followed by a thorough scrubbing with a steel pot scrubber and some soap. A shop vacuum can also be employed to suck out smaller bits of waste.
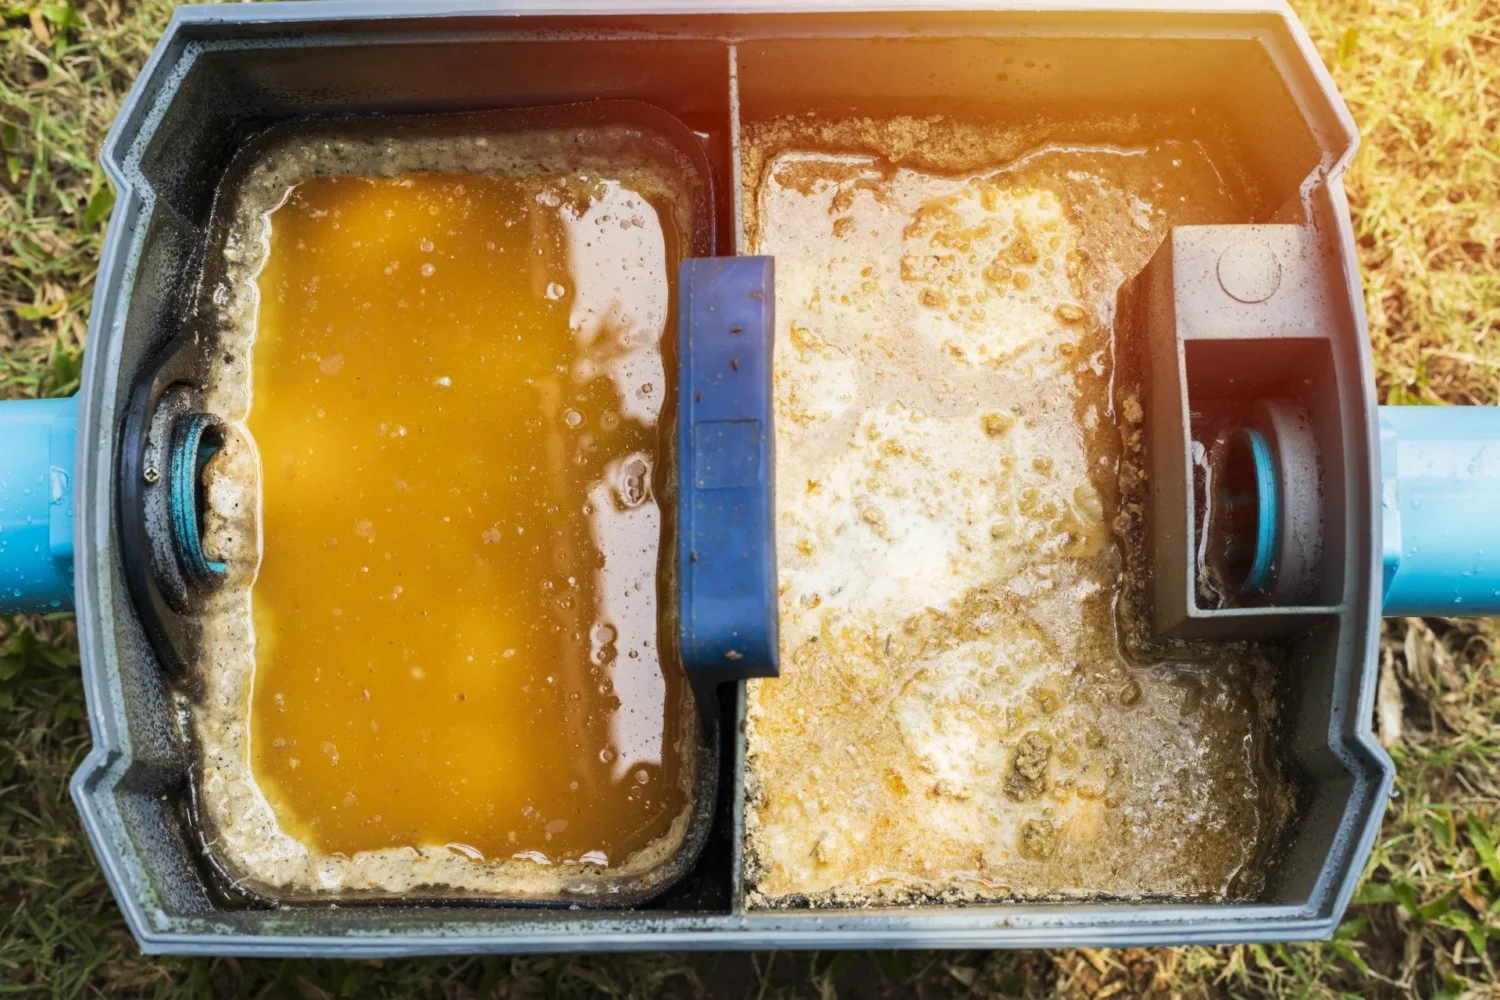
Rinse and Repeat
After scrubbing, rinse the trap with water to remove soap residues. Repeat the process until the trap is clean and the water runs clear.
Post-Cleaning Measures
Post-cleaning steps are vital to ensure longevity and efficiency.
Proper Disposal
Dispose of the grease properly by letting it cool, then transferring it to a disposable box or a large container for later disposal.
Regular Checks
Regular cleaning minimizes foul odors and ensures the grease trap functions efficiently. It’s recommended to have a routine check and cleaning schedule to prevent any issues from escalating.
Maintenance Tips
Consider installing a strainer to prevent food solids from entering the trap, have a designated grease container, and explore the possibility of reusing oil to reduce the amount of grease that goes into the trap.
Proactive Measures
Taking proactive measures can significantly reduce the frequency and intensity of cleanings required, making the overall maintenance of your grease trap more manageable.
Utilize a Strainer
Employing a strainer in your sink can help catch solid food particles, preventing them from entering the grease trap. This simple tool can help reduce the accumulation of solids in the trap, making the cleaning process less cumbersome.
Have a Grease Container
Having a designated grease container in your kitchen is a smart way to manage grease disposal. Instead of pouring grease down the drain, store it in the container for proper disposal later. This habit not only eases the cleaning process but also prolongs the life.
Conclusion
With these tips and techniques, cleaning a grease trap will no longer be a chore but a straightforward task that ensures your kitchen remains hygienic and efficient. Happy cleaning!