Hi Boox Popular Magazine 2025
Gold leaf has long been a staple in the world of crafts, offering a touch of luxury and brilliance to a wide range of projects. While beginners may stick to simple applications, there’s a whole world of advanced techniques waiting to be explored.
This article aims to take your gold leaf crafting to the next level by diving into these sophisticated methods for gold leaf for crafts.
The Basics Revisited
Before venturing into the realm of advanced gold leaf crafting techniques, it’s essential to revisit the foundational skills that set the stage for any successful project. Here are the key basics you should be comfortable with:
Properly Preparing Surfaces
The first step in any gold leaf project is to prepare the surface you’ll be working on. This involves:
- Cleaning ─ Remove any dust, grease, or grime from the surface. A clean surface ensures better adhesion.
- Sanding ─ For wooden or metal surfaces, light sanding can create a smoother base, making it easier for the gold leaf to stick.
- Priming ─ Apply a coat of primer to seal the surface and create a uniform base. This is especially important for porous materials like wood.
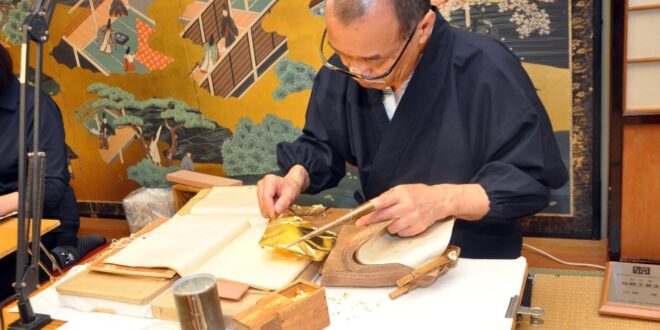
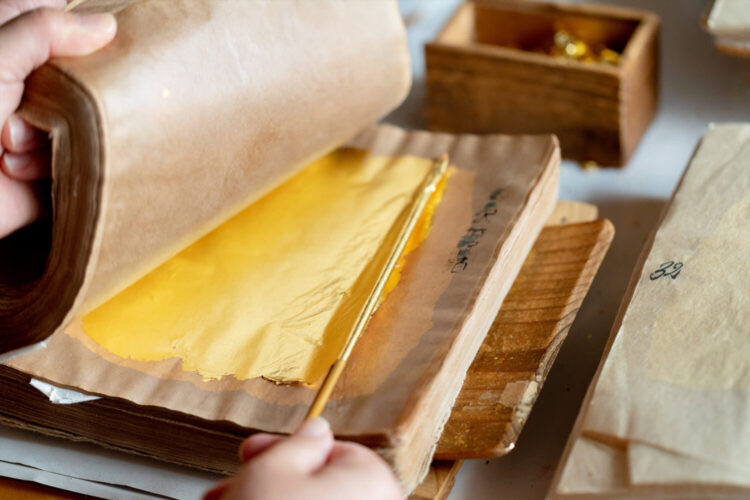
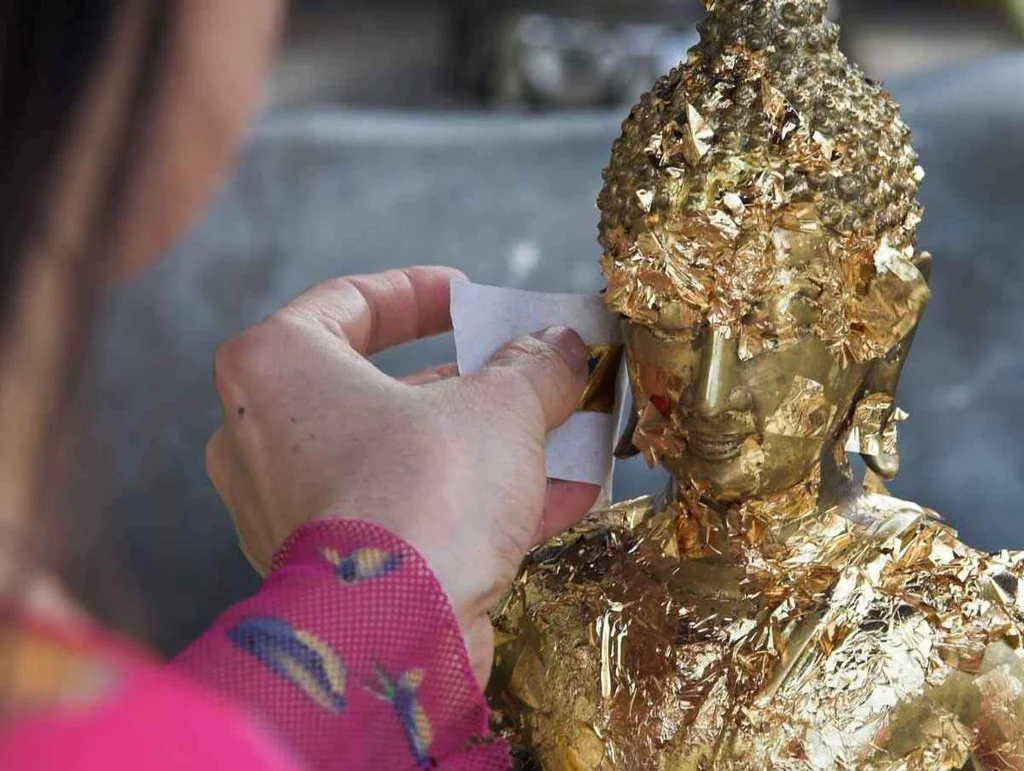
Basic Gilding Techniques
Understanding the fundamentals of gilding is crucial for advanced techniques. Here’s a quick refresher:
- Adhesive application ─ Use a brush to apply a thin, even layer of adhesive where you want the gold leaf to adhere.
- Leaf placement ─ Carefully lay the gold leaf sheet onto the adhesive. Use a soft brush to smooth it out and remove air bubbles.
- Burnishing ─ Once the adhesive has dried, use a burnisher or the back of a spoon to gently rub the gold leaf, making it adhere securely.
Sealing Your Gold Leaf Projects
Sealing is the final step that protects your work and enhances its longevity. Here are some tips:
- Choose the right sealer ─ Use a sealer that is compatible with both the gold leaf and the surface material. Sealers come in matte and glossy finishes.
- Application ─ Apply the sealer in thin, even coats, taking care not to disturb the gold leaf.
- Drying time ─ Allow adequate time for the sealer to dry. Rushing this step can result in smudging or uneven finishes.
By mastering these basic steps, you create a strong foundation that allows you to confidently explore more advanced gold leaf techniques. This ensures that your projects not only look stunning but also stand the test of time.
Advanced Techniques
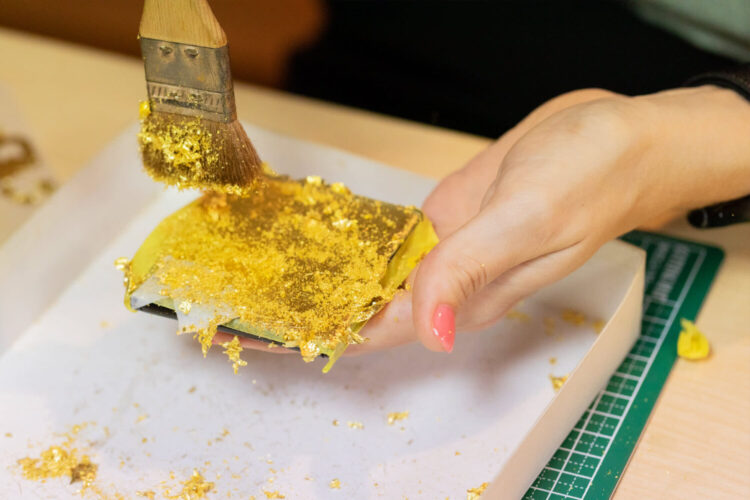
Layering and Texturing
One way to elevate your gold leaf crafts is by layering multiple sheets to create texture. This technique works well on canvas art and furniture. The key is to apply each layer carefully, allowing some areas to have thicker gold leaf than others.
Marbling Effect
Marbling with gold leaf involves applying sheets in a random, organic pattern over a painted surface. The result is a luxurious marbled effect that can make any craft project stand out. This technique is particularly effective on pottery and glassware.
Gold Leaf and Resin
Combining gold leaf with resin can create stunning visual effects. This technique is often used in jewelry making and requires a careful balance of timing to ensure the resin sets correctly while keeping the gold leaf in place.
Stenciling
For those who are skilled in detailed work, using stencils can add intricate designs to your gold leaf projects. This method involves laying a stencil over the surface and then applying gold leaf only to the exposed areas.
Tips for Advanced Crafting
- Quality matters ─ Always use high-quality gold leaf and adhesives for the best results.
- Patience is key ─ Advanced techniques often require more time and attention to detail.
- Test first ─ Before applying any advanced technique to your main project, always do a test run on a scrap piece.
Troubleshooting
Even advanced crafters can run into issues. Here are some common problems and solutions:
- Tearing ─ If the gold leaf is tearing, it may be too dry. Try working in a more humid environment.
- Uneven application ─ This usually occurs due to an uneven adhesive layer. Make sure to apply the adhesive uniformly.
Conclusion
Advanced techniques in gold leaf crafting are not just about showing off your skills; they’re about pushing the boundaries of what this luxurious material can do. Whether you’re layering, marbling, or even incorporating resin, each technique offers a unique set of challenges and rewards. So go ahead, take your gold leaf crafts to the next level and let your creativity shine.
By incorporating these advanced techniques into your crafting repertoire, you’ll not only improve your skills but also create projects that are truly extraordinary.