Hi Boox Popular Magazine 2025
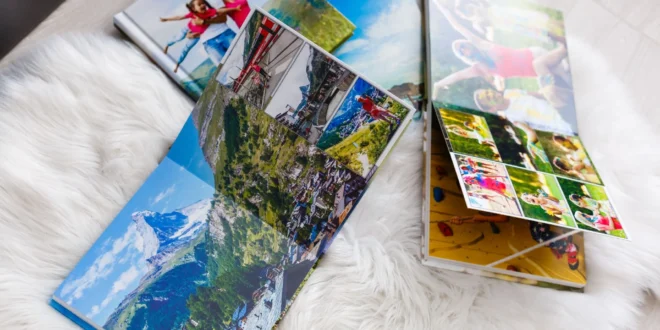
In our digital age, the tangible act of flipping through a photo album book holds a special allure, offering a physical connection to our past and preserving memories for future generations.
This guide will walk you through creating your own photo album book, from gathering materials to the final preservation touches.
We’ll share practical tips and techniques to ensure your album not only captures but also enhances your memories.
Gathering Materials
To start, you’ll need a selection of materials: high-quality paper for printing your photos, a durable cover material to protect your memories, and adhesive for assembling your album. Opt for acid-free paper to prevent your photos from yellowing over time, and consider linen or leather for a sturdy, elegant cover.
For adhesive, choose a photo-safe option to secure your images without damaging them. These materials can be found at craft stores, online retailers, or specialty photo shops, ensuring you have the best quality for your photo book.
Selecting and Organizing Photos
Choosing photos for your album should focus on storytelling, whether it’s capturing a single event or depicting various life stages. Organize your selected photos either chronologically or around a central theme to give your album a structured narrative.
Editing and curating your photos are crucial steps; this not only includes cropping and adjusting brightness but also deciding which images best fit your album’s story. This thoughtful selection process ensures your album is coherent and engaging.
Designing the Layout
Your album’s layout is a canvas for your creativity. Whether you prefer the tactile feel of scrapbooking or the sleek look of digital design, your layout should balance photos, text, and white space to create a visually appealing page.
Incorporate captions or quotes to add context to your images, and use embellishments sparingly to complement, not overwhelm, your photos. Consistency in fonts, colors, and spacing will unify your album’s design, making it pleasing to the eye and easy to navigate.
Assembling the Album
Assembling your album involves carefully placing each photo and embellishment according to your layout plans. Start by laying out your pages without adhesive to adjust and reposition elements as needed.
Once satisfied, use your photo-safe adhesive to secure everything in place. Pay special attention to the edges of your photos and embellishments to prevent peeling and ensure everything is firmly attached. This step is about precision and patience, ensuring each page is crafted with care.
Final Touches and Preservation
Adding personal touches like handwritten notes or dried flowers can give your album a unique character. Once completed, consider ways to protect your album from damage. Using clear, acid-free page protectors can shield your pages from dust and fingerprints, while storing your album in a cool, dry place will help preserve its quality over time.
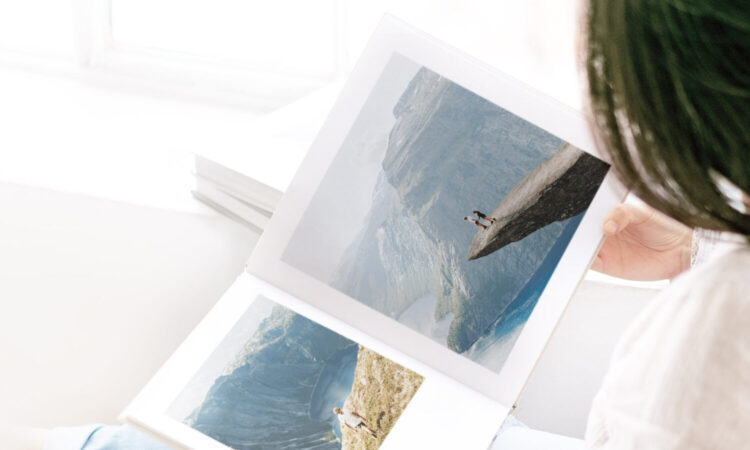
Finally, share your finished album with friends and family, letting them relive the memories and moments you’ve so meticulously captured and preserved.
Creating a photo album book is a rewarding process that not only safeguards your memories but also allows for creative expression. Through careful selection of materials, thoughtful organization and editing of photos, deliberate design choices, meticulous assembly, and proper preservation, you can create a photo album book that stands the test of time.
Embrace this opportunity to craft a tangible piece of your history, a keepsake that can be cherished and shared for generations to come.