Hi Boox Popular Magazine 2025
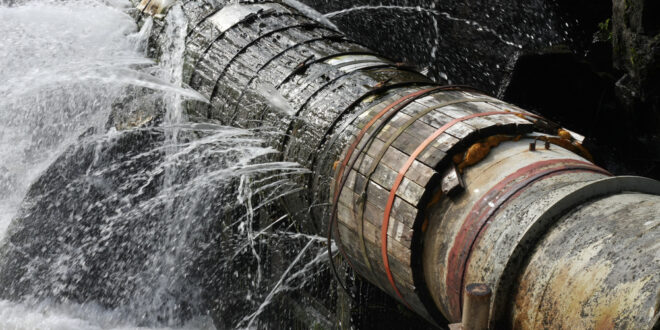
Every homeowner’s worst nightmare – a burst pipe! Natural disasters aside, this is one of the worst things that can happen in your home and you need to react fast so there’s not too much damage. Chances to get a burst pipe in the winter are more than double the chances to get a burst pipe in the summer. When water freezes it expands with an incredible force and if you have weak or old pipes (you won’t know they are weak until they burst) they are likely to get damaged. It’s better to be prepared for the worst even if you have just renovated your home and changed all the pipes. We’re going to tell you what to do and how to deal with burst pipes in your bathroom – or any other room in your home.
1. Call a plumber

Yes, that is the first thing you need to do. Even if you have some experience in dealing with burst pipes, you need to call a professional. If you decide to take care of everything on your own, you may do something wrong and have a bigger mess in a day or two. In case you really know how to fix a burst pipe, it’s still better to call a plumber to check if you did a good job and to inspect other pipes and see if they are weak or damaged.
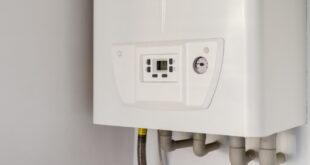
2. Turn off the water main
After you’ve called the professionals and before they arrive you have to act fast. Turn off your water supply. If there are any chances for the leak from the pipe burst to have reached any electrical sockets or the fuse box, you should turn off the electricity as well. If you live in a house, the main water shut-off valve should be in the basement, crawl spaces or somewhere near the water heater. If you cannot find it in your home, look close to the street outside of your home, under a metal lid.
3. Open a faucet
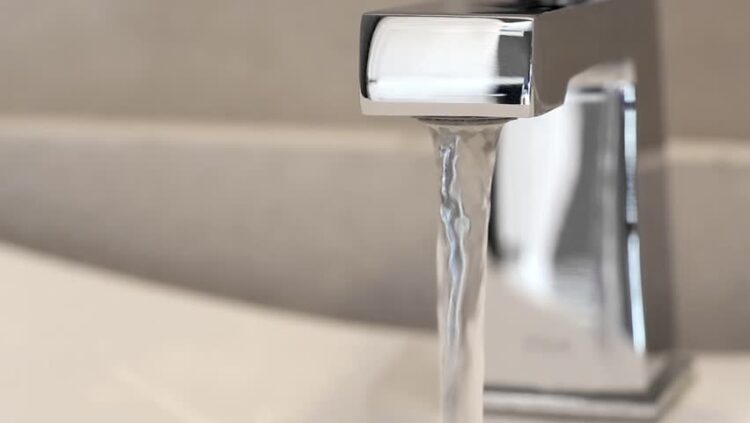
When you turn the main water valve off, the next thing you should do is drain the remaining cold water from the system. Open all the faucets in your bathroom and leave them open so the water can be drained from the pipes. Flush the toilet a few times as well. This will reduce the chance of leftover water to freeze in the pipes. It will also relieve the pressure in the pipes.
4. Drain the hot taps
Shut off the water boiler and release all the water from the hot taps. Remember to do this in the sink, or sinks as well as in the shower and bath. You need to make sure all the water in your bathroom is drained so there can be no extra damage from the burst pipe.
5. Turn up the heat
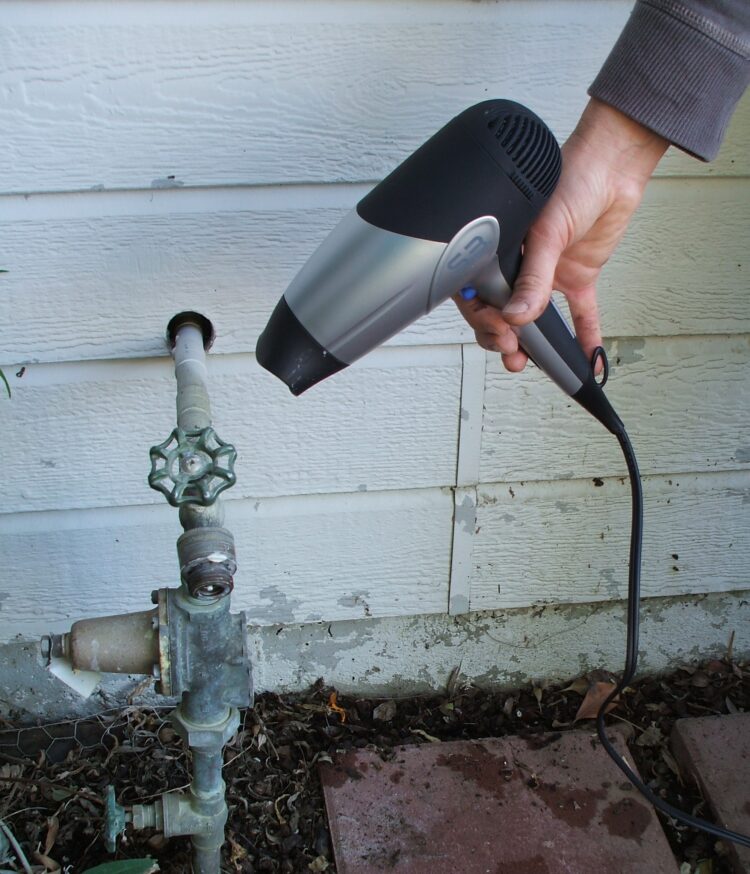
If you didn’t turn the electricity off, the next stage is to let some warm air in. Open the doors, or use a fan/hairdryer to unfreeze the pipe. You can also use your thermostat to heat the room up. Keep the garage door closed or any other door that leads to a cold room/outside. Your pipes need to breathe and they need to have access to some air. If you heat your bathroom only when you use it, make sure to leave the door open at all times so the pipes have access to warm air all the time. This will prevent pipes from bursting in the future.
6. Place a piece of rubber over the leak
Put a piece of rubber over the leak to prevent more water from coming out and causing more damage. You can also use a sponge or a big towel. If you cannot see the damaged pipe or cannot reach it, stay safe and don’t try to mess with it.
7. Use a C-Clamp
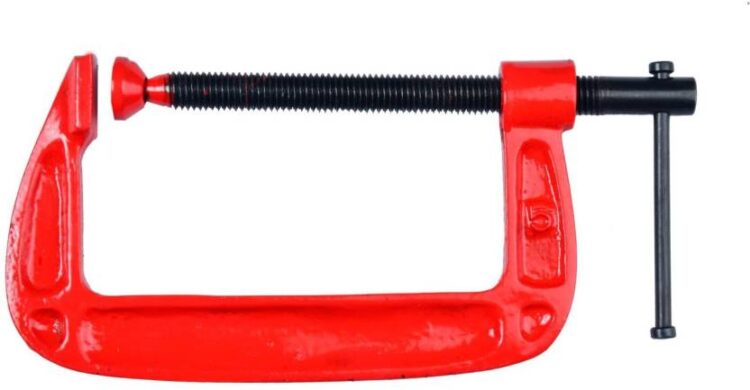
If you can reach the pipe, add a block of wood over the rubber on the pipe and fasten it with a C-Clamp. The block of wood is important because it will spread the pressure and help prevent the pipe from collapsing. This will be a temporary fix until the help arrives. As suggested by lpgs.com.au, it’s really important to call emergency plumbing service and let the professionals deal with the issue than to risk increasing the damage.
8. Clean up the mess
If you know where the leak is coming from and if you’ve done all the previous steps, now it’s time to try and clean the mess up. Take a mop and try to remove all the water to prevent mold and mildew. You can also use a vacuum cleaner, but only if you have one that can be used on wet surfaces. If you are not sure what type of vacuum cleaner you have, it’s better not to risk it and do it by hand – with a mop, a bucket and a lot of patience. Before putting everything back in place, read step 9.
9. Start documenting

Now that you’ve done everything right and before you start taking things back, grab your phone or camera, a notepad and start documenting. Take pictures of the mishap and document any damage to your home and possessions. Don’t throw the damaged things away. Put them in a box and keep them so you have evidence for when you call the insurance company.
Protect your home
After you are done with the horror of a burst pipe, you need to do something so things like this don’t happen again. Add insulation to keep rooms and pipes from going below the freezing point in the winter months. You can use newspapers, pipe sleeves or heat tapes to the exposed pipes that are prone to freezing – like the pipes in the bathroom or under the kitchen sink. Make sure there are not any cold air leaks. You can consult the plumbers about devices that make it easy to find and fix micro-leaks on the pipes.
Most important of all, let your pipes breathe. If they are placed in cabinets, open the door and let the warm air access the pipes. When you leave the house for a longer period of time (even if it’s just for a few days), keep the thermostat set to above 32 degrees. This may add a bit to your bill, but it’s better to pay a bit more for heating than to rick coming back to a flooded home. Do you have any other tips you would like to share with us?